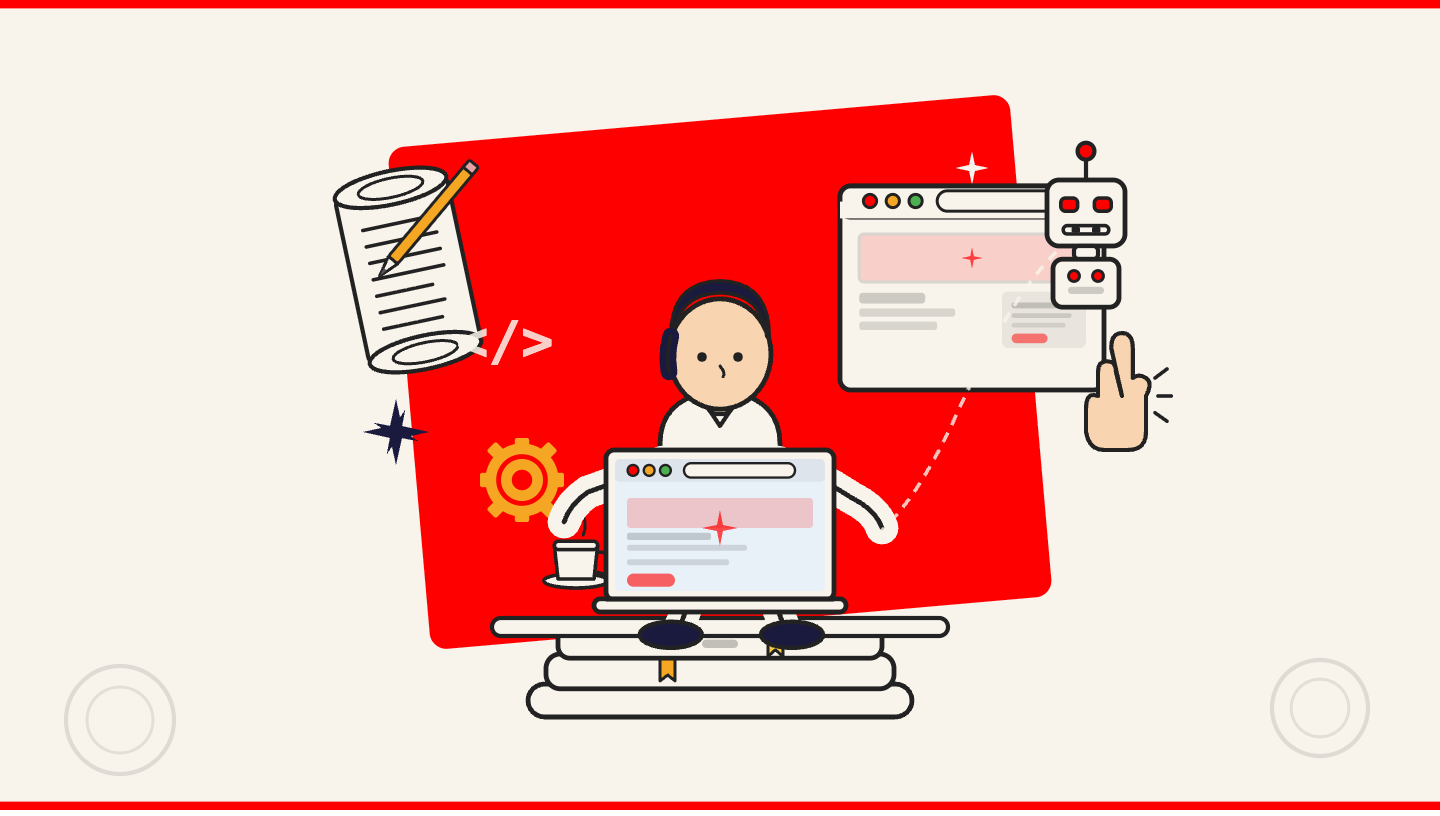
Building a professional website used to mean hiring a developer, waiting weeks, and spending thousands of dollars before a single page went live. That is no longer the case. Today, no-code and AI-powered website builders have made it genuinely accessible for anyone — a first-time entrepreneur, a small business owner, or a cross-border seller — to launch a polished, functional site without writing a single line of code.
This guide walks you through everything you need to know: what your options actually are, how to pick the right platform, and a practical step-by-step process whether you want to use AI to build in minutes or prefer hands-on drag-and-drop control. By the end, you will have a clear picture of how to go from zero to a live, professional website.

What "no-code" actually means?
A no-code website builder is a platform that lets you build and customize a website entirely through a visual interface. Instead of writing HTML or CSS, you drag elements onto a page, click to edit text, and choose from pre-designed templates. Tools like Shoplazza and Webflow fall into this category. They give you a canvas where what you see is what you get, or close to it.
AI-powered website builders take this a step further. Rather than starting with a blank template, you have a conversation with the builder. You describe what you sell and what you want, and the AI generates a site structure or a single page for you. The distinction matters because the workflow is fundamentally different. With a drag-and-drop builder, you are assembling and adjusting. With an AI builder, you are reviewing and refining something that already exists.
Choose the right platform for your goals
Not every website builder is built the same. The right choice depends on what you are selling, how much control you want, and how fast you need to launch.
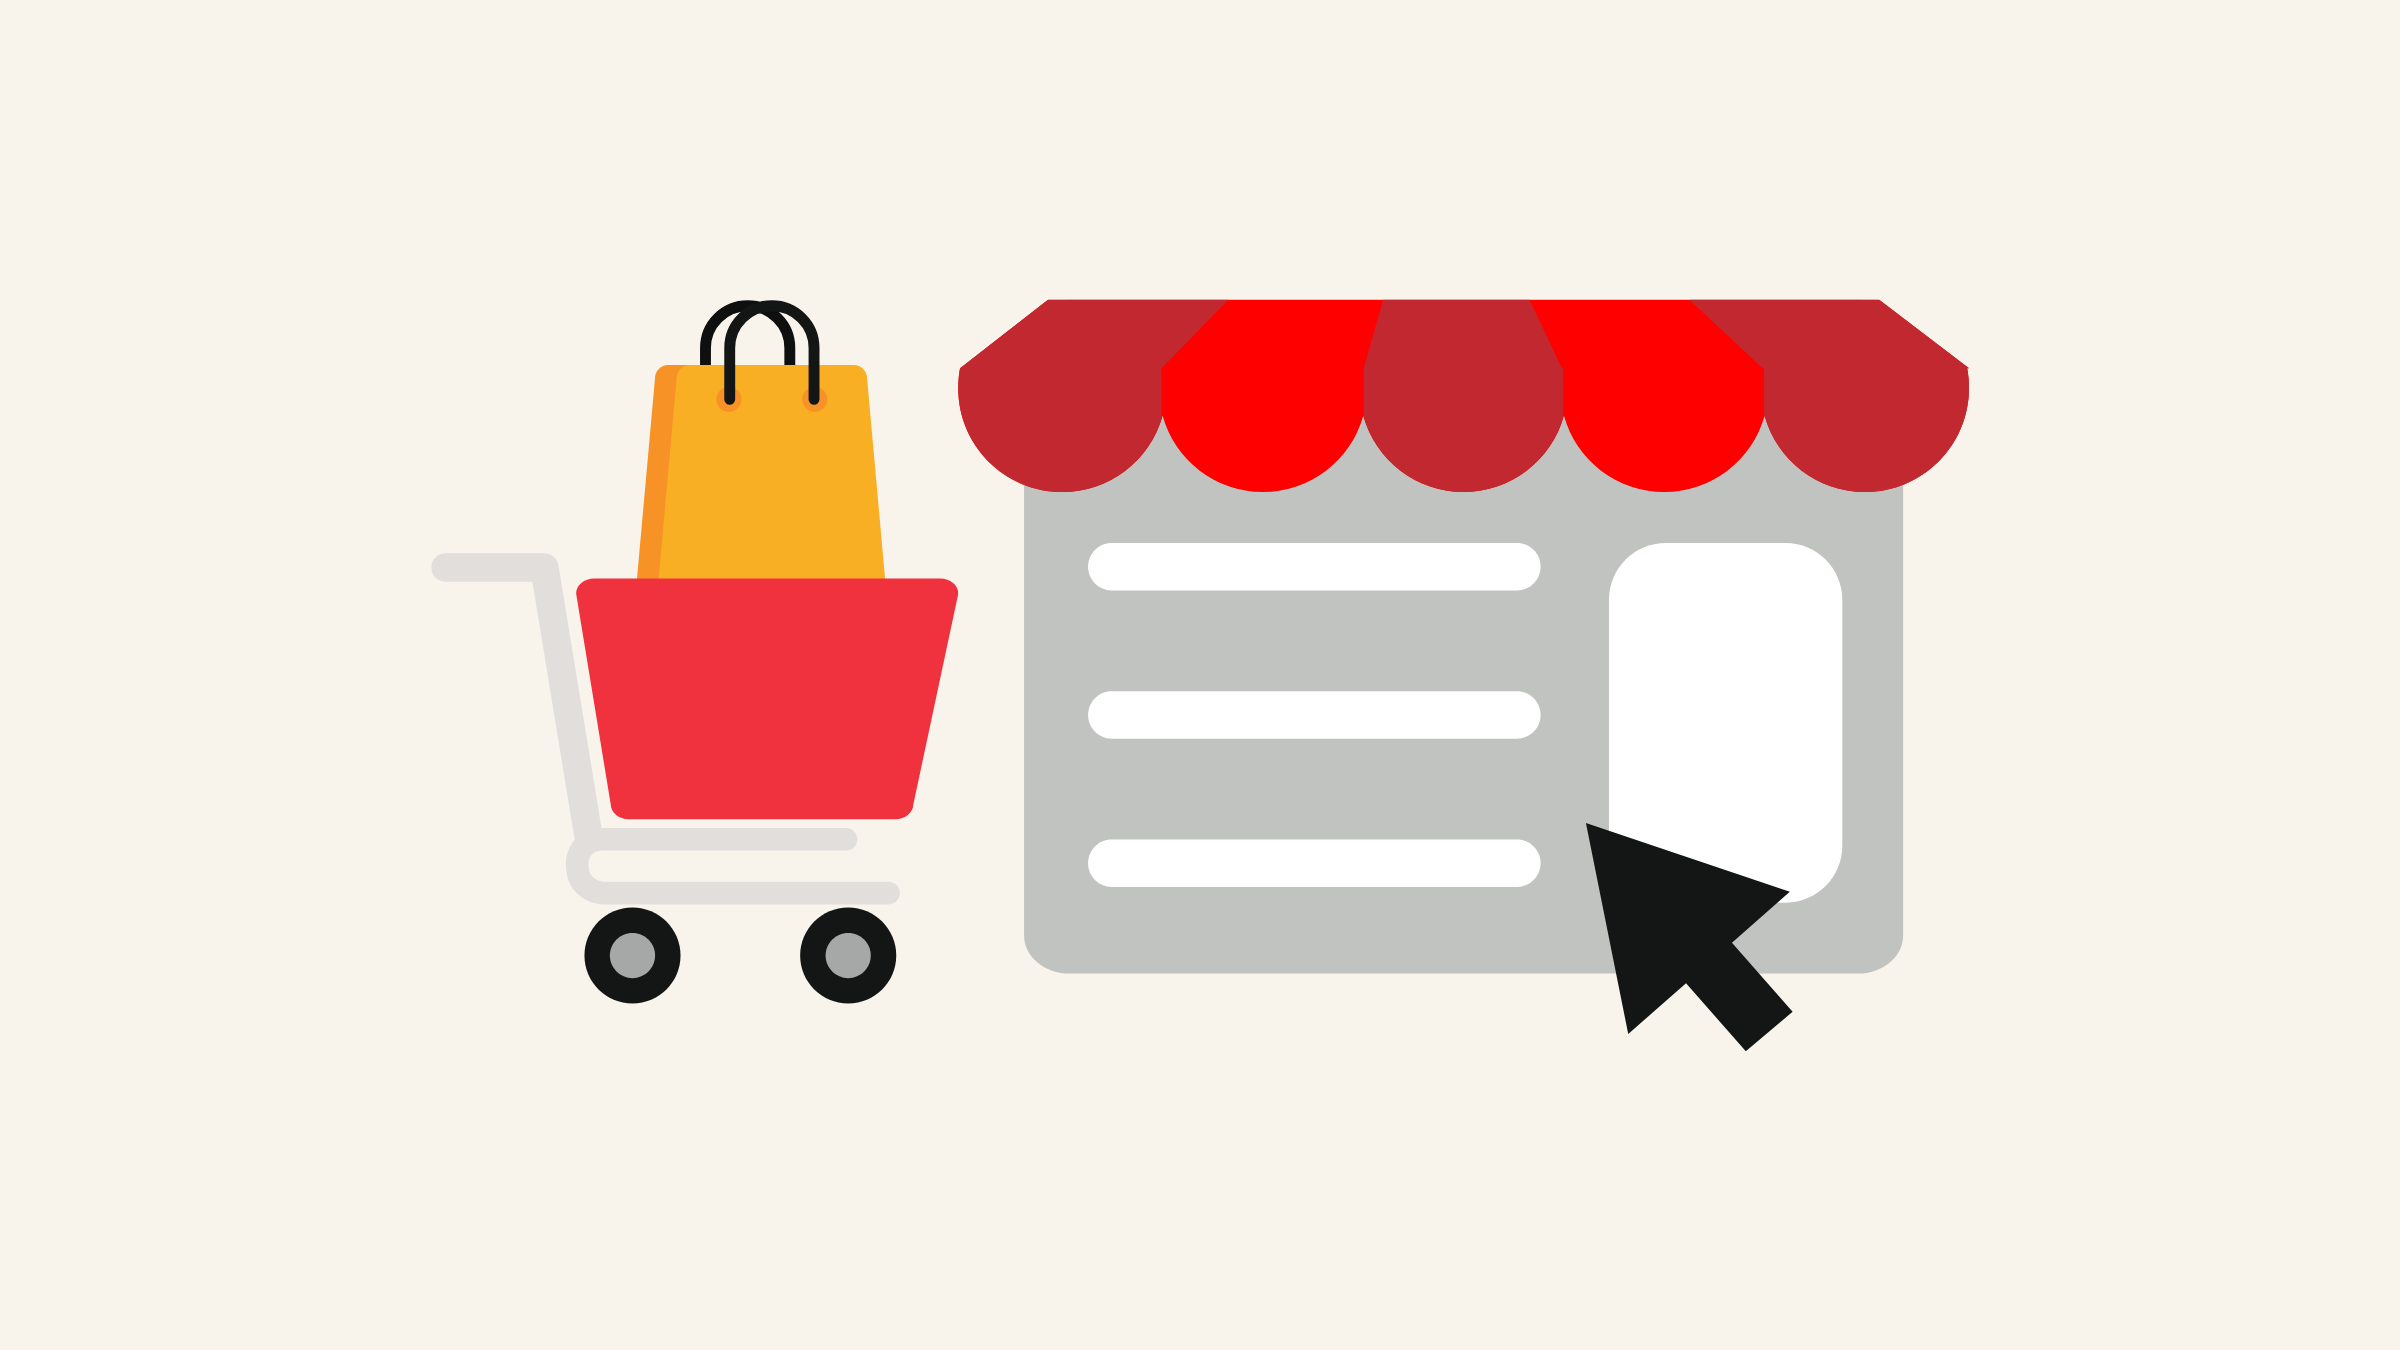
- Best for e-commerce and selling online: Shoplazza is purpose-built for global sellers and online branded stores. It offers both an AI store builder for sellers who want to launch quickly and a drag-and-drop editor for those who prefer hands-on control over every detail of their storefront. Either way, the platform supports global payment methods, dropshipping supplier integrations through partners, and marketing tools, including out-of-the-box integrations with Google, Facebook, Pinterest, and TikTok.
- Best for design and aesthetics: Squarespace has a well-established reputation for visually refined templates. It is particularly popular among photographers, designers, and creative small businesses where the look of the site carries significant weight. Squarespace's template library is consistently rated among the most polished in the industry.
- Best for designers who want precision: Webflow and Framer give experienced designers pixel-level control over layout, animations, and interactions. Both tools generate clean code in the background, which makes them a credible option for professionals who need custom results without hand-coding everything. That said, both platforms have a noticeably steeper learning curve than beginner-focused tools.
- Best free or simple option: Google Sites is completely free and integrates directly with Google Workspace. It is not built for e-commerce or complex design, but for a simple informational site, an internal page, or a basic portfolio; it is a practical zero-cost starting point.
Quick comparison: platform, use case, and price range
| Platform | Best for | Starting price (monthly) |
| Shoplazza | E-commerce, globall selling | From $39/mo |
| Squarespace | Design-focused, creatives | From ~$25/mo |
| Webflow | Designers, advanced customization | Free; paid from ~$18/mo |
| Framer | Designers, precision animations | Free; paid from ~$15/mo |
| Google Sites | Free, simple informational sites | Free |
Define your purpose and structure before you build
Many people overlook this step and go straight to picking a template. In practice, skipping the planning stage almost always creates more work later — restructured navigation, rewritten copy, pages added as afterthoughts.
Before you open any builder, spend fifteen minutes answering three questions:
- What is the primary goal of this site: to inform, to generate leads, or to sell products directly?
- Who is the audience, and what do they need to find quickly?
- And what pages does the site actually need at launch versus what can be added later?
For most small business sites and online stores, the essential pages are Home, About, a Products or Services section, and Contact. If you are running an e-commerce store, you will also need a dedicated checkout flow and a returns or shipping policy page, both of which build customer trust and reduce cart abandonment. Research published by the Baymard Institute found that unclear policies lead 15% shoppers to abandon a purchase before completing it.
Therefore, map this out on paper or a simple document before you touch the builder. It sounds basic, but having a clear page structure in front of you means you make better decisions at every step of the build.
How to build your site without coding: two step by step guides
Once you know your platform and your structure, the actual build process splits into two distinct paths depending on whether you are using an AI builder or a traditional drag-and-drop editor.
Path A: Using an AI website builder (3 to 5 minutes)
This approach suits sellers and business owners who want to launch quickly and are comfortable refining an AI-generated result rather than building from scratch.
Step 1: Enter your business information. Most AI website builders start with a guided input flow. You describe your store type, the products you sell, your target audience, and any style preferences. The more specific you are here, the more relevant the output. Vague inputs tend to produce generic results.

Step 2: Review the AI-generated design options. The builder, like Shoplazza, will generate a set of store style designs, typically presented as a carousel or side-by-side preview. Take time to look through each option properly. Then you may pay attention to how the homepage hierarchy is structured and whether the layout suits the type of products you are selling.

Step 3: Pick your preferred style. Select the design that best fits your brand direction. You are not locked into every detail at this stage — the choice is primarily about layout and visual tone.
Step 4: Let the AI build your full store. Once you confirm a style, the builder generates all core pages automatically: homepage, product pages, About, Contact, policies, and checkout. With Shoplazza's AI Store Builder, for example, this process requires no sign-up or credit card to preview, which means you can see the actual output before committing.

Step 5: Review and fine-tune. Go through each page carefully. Now you can replace placeholder content with your real product names, descriptions, and brand copy. Then check that your product categories make sense and that the checkout flow reflects your actual shipping and payment setup.

Step 6: Connect a domain and go live. Purchase a custom domain through your builder or a third-party registrar, connect it to your store, and publish. A custom domain — for example, yourbrand.com rather than yourbrand.shoplazza.com — is one of the simplest credibility signals you can give a first-time visitor.
One thing worth paying attention to throughout this process: be specific when writing your initial prompt. The AI is working from your description, so accuracy about your product category, your brand tone, and your target market will directly affect how useful the first output is.
Path B: Using a no-code drag-and-drop builder (1-7 days)
This path suits people who want more direct control over every element of their site and are comfortable spending a few hours on the build rather than a few minutes.
Step 1: Choose a template. Browse the website themes filtered by industry or site type. Most platforms offer dozens of starting points organized by category — retail, portfolio, services, food and beverage, and so on. Choose something that is reasonably close to your intended visual direction, because it is always easier to adjust an existing layout than to fight against a template that does not fit.

Step 2: Customize layout and visuals. Use the drag-and-drop store editor to move sections, resize elements, swap out images, change fonts, and adjust the color palette. Most builders allow you to edit individual blocks independently, so you can rearrange the homepage without affecting inner pages.

Step 3: Edit your content. Replace all placeholder text with your actual product descriptions, headlines, and brand story. Write copy that is direct and specific. Many people overlook the About page at this stage — but for branded stores in particular, a clear and honest brand story has a measurable effect on conversion rates.
Step 4: Add functionality. Most builders have an app marketplace or built-in tool library. Depending on your needs, you might add a contact form, a live chat widget, a booking system, or a product collection for your store. Install only what you actually need at launch — unnecessary plugins slow your site down.
Step 5: Optimize for SEO and mobile. Edit the page title and meta description for each page before publishing. These are what appear in Google search results, and getting them right from the start saves cleanup work later. Beside, you may always check the mobile preview. Many builders default to a desktop view during editing, and layouts that look clean on desktop can break on smaller screens. If you are building with Shoplazza, this is one less thing to worry about: both the AI store builder and the drag-and-drop editor produce fully responsive designs by default, so your store automatically adapts to any screen size without manual adjustment.

Step 6: Secure a custom domain. Like the AI store builder, you should purchase a domain and connect it through your builder's domain settings, too. Most platforms walk you through this with a step-by-step setup flow. According to GoDaddy, most domain names cost between $10 and $20 per year for a standard .com address.
Step 7: Test and publish. Click through every link and test the orders. Submit your contact form to confirm it delivers to the right inbox. If you have an online store, run a test transaction to confirm the checkout process works end-to-end. Once everything checks out, publish.

Key tips for a professional result
The difference between a site that looks professional and one that does not usually comes down to a handful of decisions that are easy to get right once you know what to look for. Here are the most practical ones to keep in mind as you build and refine your site.
- Use AI tools for your initial copy and layout, but edit the output. AI-generated content is a useful starting point, not a finished product. Review every line of copy for accuracy, tone, and relevance to your specific audience.
- Mobile optimization is not optional. As of early 2024, mobile devices account for approximately 60 percent of global web traffic according to Statista. If your site does not work well on a phone, a significant portion of your visitors will leave before engaging with your content.
- Keep the design simple. Clean navigation, readable fonts, and fast load times consistently outperform visually complex sites in both user engagement and search rankings. Google's Core Web Vitals guidelines make explicit that page speed and layout stability are ranking factors.
- Use your builder's AI image tools like LazzaStudio or a platform like Canva to create graphics that match your brand palette. Inconsistent visuals — mixing styles, resolutions, and color temperatures across a single page — are one of the most common reasons an otherwise solid site looks unfinished.
- After launch, check Google Analytics at least weekly for the first month. Pay attention to which pages are getting traffic, where visitors are dropping off, and what your bounce rate looks like. That data tells you where to improve next.
Common mistakes to avoid when building a website
A few patterns come up repeatedly among people building their first professional site, and most of them are easy to avoid with a little awareness. Knowing what these mistakes are before you launch is a lot more useful than discovering them after the fact.
- Skipping the mobile preview before publishing is probably the most common mistake. It is easy to spend hours perfecting the desktop layout and then forget that a large share of your visitors will never see it that way.
- Using a free subdomain instead of a custom domain sends an unintentional signal to visitors. A URL like yourbrand.shoplazzasite.com/home works fine for testing, but it looks unfinished to a first-time customer who does not know your brand yet.
- Neglecting basic SEO at launch means that even a well-designed site may not be discoverable. Page titles, meta descriptions, image alt text, and a properly submitted sitemap are all foundational steps that take less than an hour to set up and have a meaningful long-term impact.
- Overloading the homepage with too much content is another frequent issue. The homepage has one job: to communicate clearly what you offer and direct visitors to the right next step. Long blocks of text, too many calls to action, and cluttered layouts all work against that goal. A good rule of thumb is that a first-time visitor should understand what your site is about within the first five seconds of landing on it.
Conclusion
Building a professional website without coding is genuinely achievable today. The right platform, a clear page structure, and the basics of SEO and mobile optimization are all you need to launch something credible. Whether you use an AI builder to go live in minutes or prefer the hands-on control of a drag-and-drop editor, the technology handles the complexity. Your job is simply to show up with clarity about your brand and what you want visitors to do next.
Frequently asked questions about no-code website building
Q1: Can I really build a professional website without any technical skills?
Yes. Modern no-code and AI-powered builders like Shoplazza are designed specifically for users without a technical background. The main skills required are an understanding of your own brand and products, basic familiarity with a computer, and some patience during the setup process. Many users complete their first site in a single afternoon.
Q2: How long does it take to build a website without coding?
It depends on the approach. An AI website builder can generate a complete store structure in three to five minutes, with additional time needed to review and customize the content. A drag-and-drop build typically takes anywhere from a few hours to a full day, or even 3-7 dyas, depending on the number of pages and how much original content you need to write.
Q3: Do I need to pay for a domain separately?
Most website builders allow you to purchase a domain directly through their platform or connect one you have registered elsewhere. Custom domains typically cost between $10 and $20 per year for a standard .com address. Some platforms like Wix include a free domain for the first year on paid plans.
Q4: What is the difference between a website builder and an e-commerce platform?
A general website builder is designed for informational sites, portfolios, and blogs, with e-commerce added as an optional feature. An e-commerce platform like Shoplazza is built specifically for selling online, with checkout, payment processing, inventory management, and order fulfillment built into the core product rather than added on top.
Q5: How do I make sure my website shows up on Google?
Start by setting a descriptive page title and meta description for each page. Submit your sitemap to Google Search Console, which is free and tells Google that your site exists and is ready to be indexed. Use relevant, specific language in your headings and body copy. Avoid duplicate content across pages. These steps will not guarantee immediate rankings, but they establish the technical foundation that search engines need to crawl and evaluate your site accurately.